Build your own Retro Gaming Console with Raspberry Pi
Build your own retro emulator console with a Raspberry Pi, the RetroPie OS, and a few other accessories. This is the perfect winter project and an amazing way to spend your time and money in building your own gaming console box. The main items include a Raspberry Pi board, case, power adapter, microSD card, and game controller.
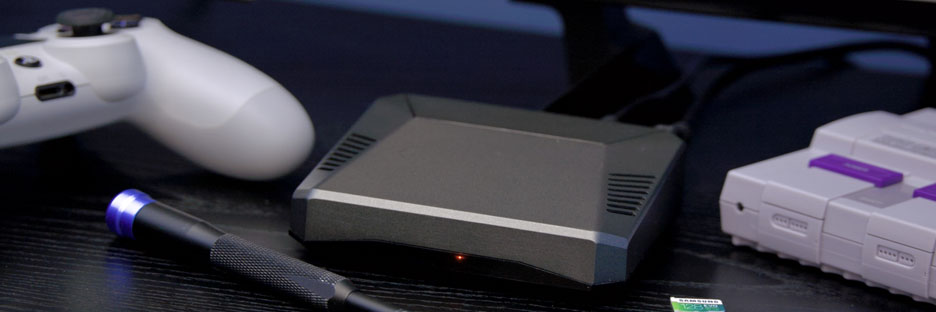
If you want to make your own console, you'll need to buy some items. The total cost is between $50-$100. The highest cost item is the Raspberry Pie 4 (we recommend the 2GB version) which is around $50 + shipping. The remainder of the cost is the Case (like the Argon case shown in the picture), the power adapter, memory card, HDMI cable/adapter, and controller. Those items vary in price range depending on if you want higher quality or accessories you can just use from previous projects.
The shortage of chips and other accessories may drive the cost up a bit. There is a chip shortage across the world so the biggest cost item would be the Raspberry Pi board. If you get a higher spec board (which can cost more) you will get better performance and smooth emulation speeds for various emulators (such as N64, PSP, and DS). If you intend to run older consoles (like SNES, NES, etc) then you could make do without higher-end specs.
You can simply plug a Pi board into the wall, with a SD card in the memory slot, and have a functional Pi game console. But building your own console means you can modify it with a custom case. There are plenty of console clone cases you can buy or more generic cases like the Argon case shown in the picture. The cases are generally easy to set up since the OS distributions support them out-of-the-box.
There are a few Linux distributions you can load up on your Raspberry Pi that are catered towards emulation. We recommend Batocera, Recalbox, or RetroPie (in that order). Most of these distributions rely on RetroArch for the emulators. To install, you simply download the OS image for your Pi model, and use an application such as Balena Etcher to write the image to the SD card. Then you insert the SD card into your Pi, load up and install the OS, set up settings for Wi-Fi, and then load up the emulators and roms. You can use Network Share to copy roms from your computer to your SD card. It is really that simple to create your own retro video game console!